Diy Drywall Repair Patching DIY Blog
The Ultimate Step-by-Step Guide to Hanging Drywall for DIY Homeowners in Northampton, Longmeadow, and Springfield
Ultimate Step-by-Step Guide to Hanging Drywall for DIY Homeowners in Northampton, Longmeadow, and Springfield
HANGING DRYWALL
11/7/20254 min read
Understanding Drywall: Types and Thicknesses
When embarking on a drywall installation project, DIY homeowners should familiarize themselves with the various types of drywall available on the market. The most common variety is standard drywall, which is typically used for most interior walls and ceilings. This type is suitable for general applications and is widely adopted due to its affordability and ease of use. However, depending on specific needs, other specialized types may be more appropriate.
For areas prone to moisture, such as bathrooms and kitchens, moisture-resistant drywall is recommended. This type is specifically designed to withstand high humidity and prevent mold and mildew growth. It often has a green or purple backing, indicating its moisture-resistant properties. Another essential type to consider is fire-resistant drywall, also known as Type X drywall. This material contains additives to enhance its fire resistance, making it ideal for garages, utility rooms, or other spaces that require additional safety measures.
Regarding thickness, drywall typically comes in three standard sizes: 1/4-inch, 1/2-inch, and 5/8-inch. The 1/2-inch thickness is the most commonly used and is suitable for residential walls and ceilings. The 5/8-inch option is often used for ceilings and is preferred for its added strength and soundproofing qualities. The 1/4-inch thickness is generally utilized for bending applications or as a second layer over existing drywall to enhance durability.
Homeowners in Northampton, Longmeadow, and Springfield can find these drywall options at local suppliers such as The Plywood Company and Home Depot, both known for their comprehensive inventory and reliable customer service. It is advisable to consult these providers to determine the best choices based on specific project requirements and local building codes, ensuring homeowners make informed decisions when selecting their materials.
Preparing the Space for Drywall Installation
Before commencing drywall installation, it is essential to prepare the space adequately to ensure a smooth process and high-quality results. The first step is to clear the area of any furniture, decorations, or other obstacles that may hinder access to the surfaces where drywall will be hung. Creating a clean, spacious environment not only enables efficient movement but also reduces the risk of damage to your belongings.
Once the space is cleared, measure and mark the walls and ceiling where the drywall will be installed. Accurate measurements are crucial to ensure that the drywall panels fit properly within the designated area. Using a level or a chalk line can help create straight lines and avoid misalignment later. For improved precision, note any windows, doors, or electrical outlets that will intersect with the drywall installation.
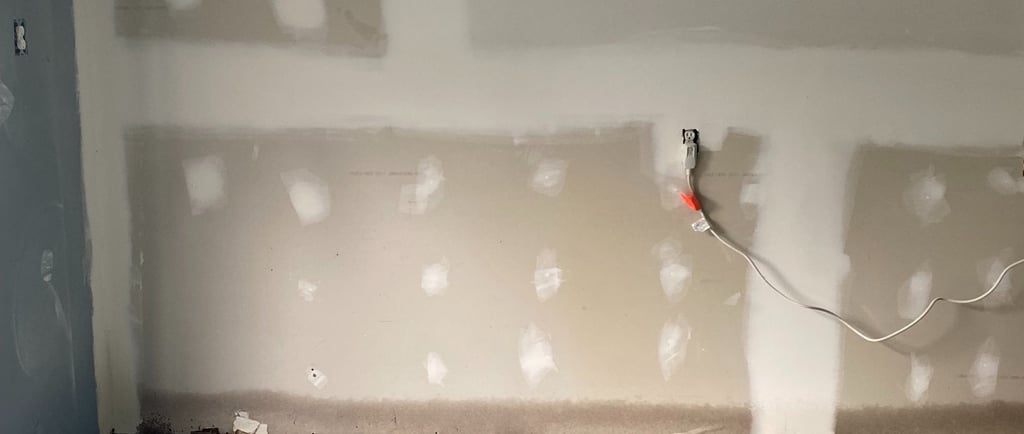
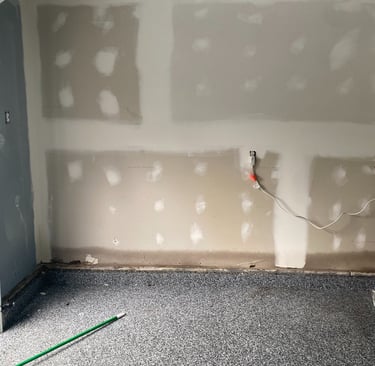
Additionally, it is imperative to check for any existing electrical wiring or plumbing within the walls. Use a stud finder to locate studs, wires, and pipes before you begin installing drywall. Proper identification will help to avoid potential hazards and ensure a safe installation process. If you discover any significant obstructions, consider consulting a professional to address them before proceeding.
When preparing for the project, gather the necessary tools and materials, including drywall sheets, a utility knife, drywall screws, a drill, and a T-square. Furthermore, reviewing your local regulations is essential; check if permits are required in Northampton, Longmeadow, or Springfield for drywall installation. Obtaining the appropriate licenses can help prevent issues with local authorities and ensure compliance with building codes.
Step-by-Step Process for Hanging Drywall
Hanging drywall is a crucial part of home improvement projects, and following a systematic process can lead to a successful outcome. The first step is to carefully measure the area where the drywall will be installed. Use a straightedge to mark the measurements directly on the drywall sheet. When cutting drywall, a utility knife is typically the best tool. Score the surface along the straight edge, then snap the sheet along the line for a clean break. This method minimizes edge damage and allows for a more precise fit against the wall studs.
Next, you will attach the drywall to the wall studs. It is essential to locate the studs behind the existing wall using a stud finder to ensure the drywall is securely anchored. Once identified, lift the drywall into position and align it correctly between the studs. It's advisable to have a partner assist with this step to hold the drywall in place. Use drywall screws or nails to attach the drywall, ensuring each fastener is driven straight and sits slightly below the surface.
After securing the drywall, it is vital to check the alignment of the edges. The joints between sheets should be staggered for structural integrity and aesthetic appeal. To avoid common mistakes, such as using the wrong fasteners or misaligning seams, consult reliable resources or local rental services in Northampton, Longmeadow, and Springfield. Many hardware stores offer rental tools and expert guidance for DIY homeowners.
Finally, ensure that any electrical boxes are cut out appropriately and that all edges are flush. Monitoring the overall installation process is key to achieving a smooth drywall finish, which can make taping and mudding later in the project easier.
Finishing Touches: Taping, Mudding, and Sanding
Once the drywall installation is complete, the next critical step is the finishing process, which involves taping, applying joint compound (also called mud), and sanding. This stage is essential to achieving a seamless, professional look for your walls. The first task is to apply drywall tape over the seams between panels. This tape can be either paper or fiberglass mesh, with each offering unique benefits. Paper tape is stronger when combined with mud, while mesh tape speeds up installation. Regardless of which you choose, ensure that the tape is firmly pressed into the wet compound to prevent bubbling or lifting.
After taping, apply the joint compound. Using a 10 or 12-inch taping knife, spread a thin layer of compound over the tape and seam. Allow the first coat to dry completely, which can take several hours. It's important not to rush this process, as a dry compound ensures better adhesion and a smoother finish. For the second and third coats, gradually feather the compound beyond the initial seams. This technique creates a tapered surface that minimizes the appearance of seams once painted.
Once the final coat is dry, sanding is crucial to achieve a flat, smooth finish. Use a pole sander with fine-grit sandpaper to carefully sand the surface, working in circular motions to avoid heavy spots. After sanding, wipe the area with a damp cloth to remove dust before painting. Additionally, consider using a primer to improve paint adhesion and enhance the durability of the final finish.
For homeowners in Northampton, Longmeadow, and Springfield, if you feel overwhelmed by this final step, professional assistance is available. Local community resources and contractors can offer services ranging from consultation to complete finishing. Research your options to ensure that your drywall finishing is handled correctly, giving your home the polished look you desire.
Licence:
The info in this blog can be shared freely as long as you link to our page as the source.