Finishing Recessed Drywall Seams
Understanding the Basics of Drywall Seams
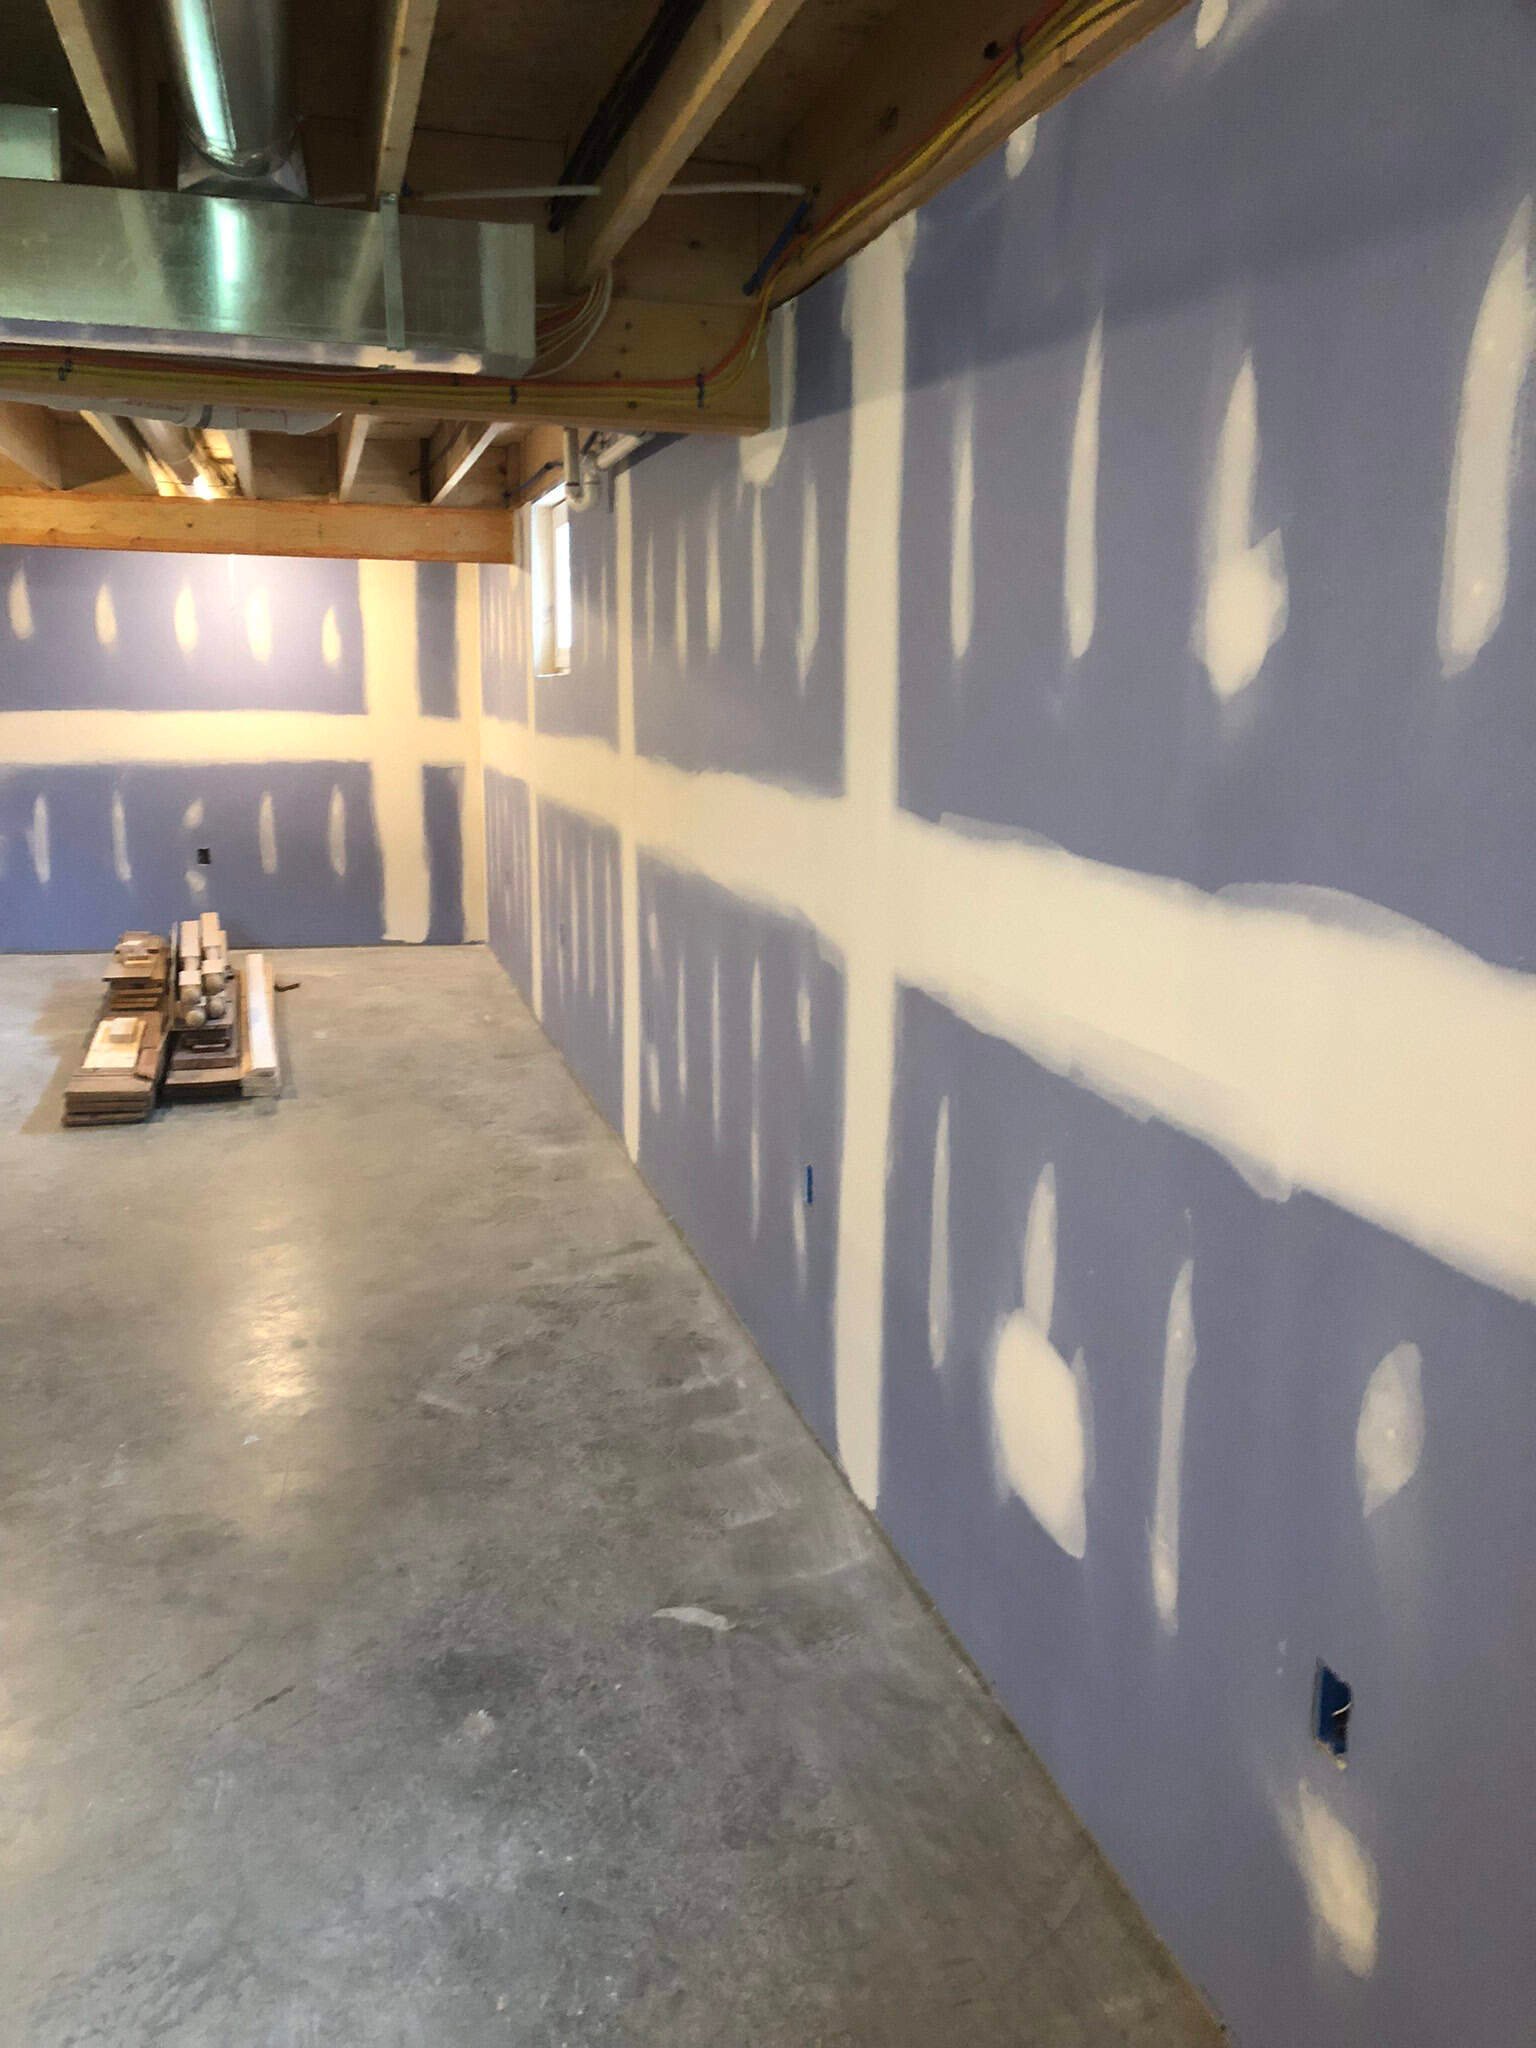
Drywall seams are the joints where two or more pieces of drywall meet in a wall or ceiling. These seams are a natural byproduct of the installation process and are critical areas that require careful attention during finishing. Properly finishing drywall seams is essential not only for aesthetic purposes but also for ensuring the longevity and durability of the walls. Neglecting these seams can lead to unsightly cracks, peeling, or other forms of damage over time.
There are primarily two types of seams encountered during drywall installation: butt seams and tapered seams. Butt seams occur when the ends of two drywall panels meet and are flush with each other, while tapered seams arise when the long edges of the panels have been tapered off, allowing for a smoother transition between boards. Each seam type presents unique challenges during the finishing process, and understanding these differences can significantly impact the outcome.
The importance of seam finishing cannot be overstated. Proper finishing techniques, including taping, mudding, and sanding, contribute to a seamless appearance that enhances the overall look of the drywall installation. In addition, these techniques help to hide imperfections and create a surface that is ready for paint or wallpaper. Without proper seam finishing, moisture can penetrate the seams, leading to mold growth or deterioration of the drywall itself. Consequently, taking the time to understand and effectively execute drywall seam finishing procedures is vital for achieving a professional finish and maintaining the integrity of the drywall over time.
Gathering Your Tools and Materials
Successfully finishing drywall seams requires specific tools and materials, each serving a distinct purpose in achieving a seamless surface. First and foremost, you will need drywall joint compound, commonly known as mud. This material is essential for covering joints, providing a smooth finish once cured. There are different types of joint compounds available, including lightweight and all-purpose, suitable for various applications.
A putty knife is another critical tool for applying the drywall compound. Typically available in various sizes, a 6-inch knife is ideal for smaller patches and seams, while larger knives, such as a 12-inch version, are perfect for smoothing larger areas.
Sandpaper is additionally necessary for achieving a polished finish. A medium grit (around 120-150) is suitable for initial sanding, while a finer grit (220-240) will help in final smoothing before primer application. Alternatives such as sanding blocks and sponges may also be beneficial, as they provide different textures for various surface contours.
For safety during the repair process, it is crucial to wear appropriate safety gear. A dust mask will protect your lungs from inhaling fine dust particles generated while sanding, whereas goggles will shield your eyes from potential irritants. Protecting your skin with gloves is advisable, particularly when working with chemicals in the joint compound.
When selecting materials, always consider the specific type of seams you are addressing; some may require quicker-drying products, while others may necessitate extensive feathering for a smooth transition. Understanding these nuances will take your drywall finishing skills to the next level, ensuring professional-quality results.

Step-by-Step Guide to Finishing Drywall Seams
Finishing drywall seams is crucial in achieving a smooth, professional look for your walls. The process begins with properly preparing the seam surface. Ensure that the area is clean by removing any dust, debris, or loose paper that might affect adhesion. After cleaning, apply a drywall primer to the seams to improve the compound’s bonding and prevent air bubbles from forming during application.
Next, it is essential to mix the drywall compound according to the manufacturer’s instructions. A smooth consistency is key; it should be workable yet not too runny. Using a putty knife, apply the compound generously over the seams. Begin by pressing the compound into the seam and then smooth it out. Utilize long, even strokes to ensure even coverage, generally making the compound about two to three inches wider than the seam itself.
Feathering the edges of the compound is a critical technique that helps blend the finished seams into the existing wall. You can do this by gradually tapering the compound while moving away from the seam. Use the blade of your putty knife to create a smooth transition. Once you apply the compound, give it time to dry thoroughly. The drying time can vary based on humidity and temperature, but generally spans between 24 and 48 hours.
After the drying process, gently sand the area using fine-grit sandpaper. This step is crucial for eliminating any imperfections and creating a flat surface. It is advised to apply multiple thin coats of drywall compound rather than one thick coat. This approach enhances durability and minimizes the risk of cracking, resulting in a better finish. Keep sanding until smooth.

Final Touches: Sanding and Priming
Once you have applied the joint compound to the seams and it has dried completely, the final stages of achieving a flawless finish involve sanding and priming. Effective sanding is essential, as it smooths out imperfections and prepares the surface for subsequent treatment. Begin the sanding process with a pole sander or a sanding block wrapped in fine-grit sandpaper, typically ranging from 120 to 220 grit. Sand lightly to avoid damaging the surrounding areas. Move in a circular motion and focus on any raised sections or lumps, ensuring to feather the edges to create a smooth transition.
After sanding, it is crucial to remove all dust particles that may affect the quality of the primer application. Use a damp cloth or a vacuum equipped with a brush attachment to thoroughly clean the surface. This step enhances adhesion and also results in a cleaner and more professional finish once the primer is applied.
Primer
Next, it is time to apply the primer. Using a high-quality, paintable drywall primer will help unify the surface texture and increase the adhesion of the final paint layer. Apply primer with a brush or roller, focusing on the seams and any areas that you previously sanded. Be cautious with the application; a smooth, even coat will yield superior results. Allow the primer to dry according to the manufacturer’s instructions before moving on to paint.
In assessing whether your drywall finish is satisfactory and ready for paint, look for a smooth texture without visible joint lines or imperfections. Once the primer has dried completely, you can confidently apply a topcoat, ensuring full coverage over the seams, achieving the desired seamless look. Properly executed sanding and priming will enhance both the longevity and aesthetics of your drywall project. Check out our Knock down texture article Knockdown Texture Application Step By Step Or learn to finish outside corners Outside Corner Finishing Corner Bead
Why are some seams recessed?
This is to allow room for the tape to be hidden.
Why do you apply multiple coats?
Joint compound shrinks when it dries. It also provides a smoother finish before sanding.
Can you finish the project I started?
If you are in Massachusetts or Connecticut, Sure contact me, I will help.
How many coats are required to finish drywall?
The tape coat and 2 top coats at least. If you’re new to finishing, it might take you more coats.
Which compound is best?
I like the all-purpose for taping and the lightweight for the two top coats.
The heavy compound has stronger glue