Repair Drywall Hole In The Wall
Repair Drywall Hole Step-by-Step Guide
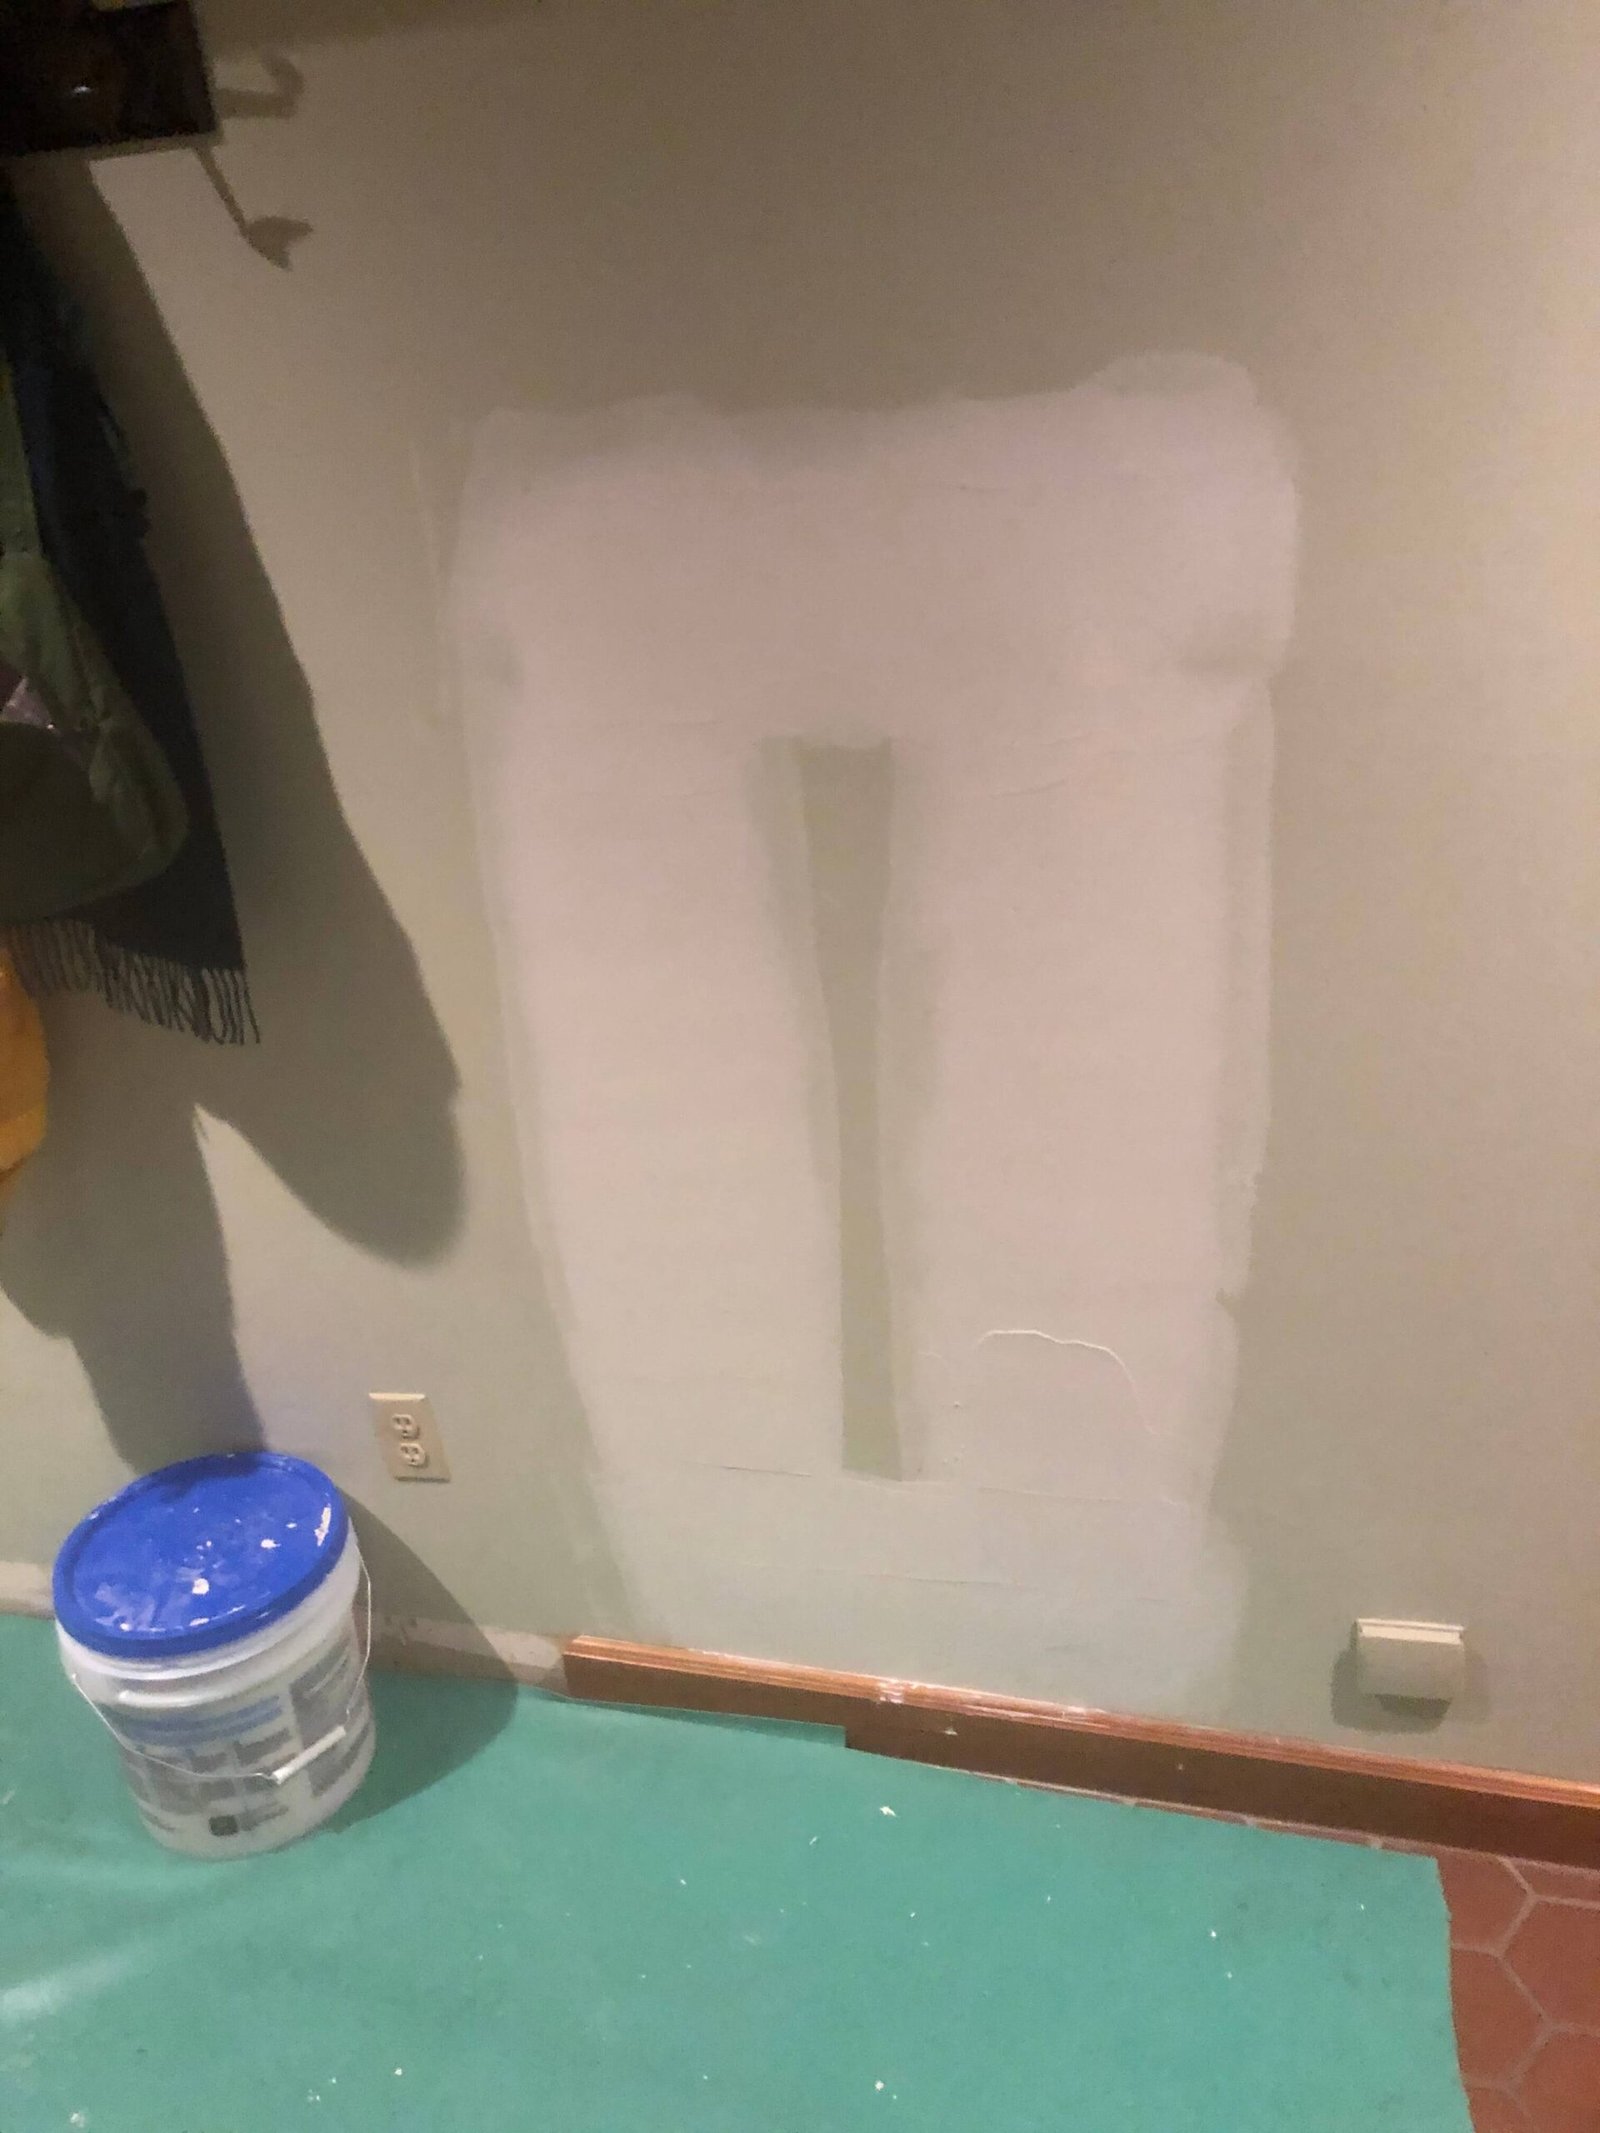
Repair Drywall Hole In The Wall will show the steps to repair a hole in your wall or ceiling, such as a section that needs to be cut out. and also illustrate that DIY drywall repair, taping, and finishing are skills any ambitious homeowner can learn with a bit of instruction and patience. You can get it done well: when you repair a drywall hole, it should disappear as if it were never there.
Repair Drywall Hole Step By Step
Mark and cut out the damaged area. For a large hole like this, you will want to remove a section of drywall up to each surrounding wall stud. If you only have a small hole to fix, I have another instructional on how to repair a drywall hole.
Locate the studs with a stud finder, use a hammer and nail to probe around to find the exact location of the stud edge, and then mark lines where you will cut. Then, carefully cut out a square that is larger than the damaged drywall with a utility knife or vibrating cutting tool.
Attach a Nailer to the studs
When you repair drywall hole cutout isn’t a rectangle or square, you can save the cutout as a template for cutting the replacement piece. This piece will also come in handy for the paint store to scan and match the paint color after you repair a drywall hole.
I usually avoid using a saw when blind cutting into a wall, so as not to hit a wire or pipe. You can cut down the middle of the stud, which leaves you 1/2 a stud to fasten to. If you struggle cutting in the middle of the stud, you can use pieces of wood added to the side of the stud as a fastening point.
If the opening is over 16 inches, you should add a piece of wood as a fastening point between the studs. Using a piece of wood at least 3″ wide, hold the wood on the back side of the opening, splitting the width between the existing drywall, and leave 1/2 into the opening to fasten the new piece to.
Apply Tape To Joints
After the drywall is fastened in place, use a utility knife and chamfer the edges of the drywall at an angle, making a slight V groove and eliminating any drywall paper that is loose on the edges. Next, with your drywall knife and mud pan, scoop some compound into the pan.
Apply drywall compound on one side of the patch. Lay it on heavy at first, then, using one smooth motion, flatten it out while also removing excess compound. You want a solid layer of compound without any paper showing through the compound before placing the tape.
Place the tape onto the layer of compound, then, working from the center outwards, wipe the excess drywall mud out from behind the tape, only leaving enough mud left to glue the tape to the wall with no air pockets behind.
Repair Drywall Hole Coating The Low Side
After the compound is completely dry, make sure there are no clumps of compound sticking out past the tape. If there are any, use your knife and scrape them off. You don’t want any bumps causing your knife to hop, which will frustrate you and cause more work.
Using a straight edge, determine if the patch is higher or lower than the surrounding drywall. The first coating you do should be building up the low side while leaving the high side uncoated. The high side only needs enough compound to cover the tape.
I like to start by adding compound to the low side of the tape, before I do a coat to cover the high side of the tape. You don’t want to build up the compound any higher than is needed over the tape, which should be the high spot. It will likely take you a few coats to build up enough compound to have a flat repair.
Thin Coat Over The High Side And Tape
Once you are happy with the low side being filled in enough, give the compound a sand or scrape to remove any bumps that will affect the next coat, which is tighter and requires a smooth surface.
If there is dust built up on the surface, wipe it off with a brush or shop rag to ensure a good bond for the next coat. You want to use a larger taping knife, either 8″ or 10″, and apply a thin layer of compound over the whole repair and a little further out than your previous coats.
After you have a layer of compound in place, press on one side of the knife blade with your index finger and wipe all 4 sides, feathering the edge of the compound into the board. Next, lay the knife at an angle flatter to the surface with even light pressure and wipe the center compound until you have only a thin, even layer over the repair.
Final Coating And Feathering Work
Sometimes, you can cover the tape completely by coating the sides and middle only one time each. But usually you will need to repeat the process at least twice. Try to go a little wider with each coat to avoid leaving a thick edge.
When you repair drywall hole goal is to completely cover the tape. Also, feather out the compound so that the transition is so gradual that it appears flat. Your goal is to also have the low side filled in completely.
After you have enough compound covering the tape. And you are happy with how flat it appears. Use a work light and look for any small imperfections and bumps. The light will help you see them easily.
Scrape down any bumps with your taping knife and sand the compound to remove any imperfections. If you find some areas that are too deep to sand out, touch up those areas with the compound.
If the edge where the compound meets the drywall paper has a lip. A lip that doesn’t go away with a little sanding. Apply compound over the transition and wipe off, feathering tightly into the drywall paper. The goal is to get the compound smooth and feathered to avoid heavy sanding, which makes a mess.
Sanding, Priming, And Repairing After The Repair
Using 220 grit sandpaper or a sanding block, lightly sand the surface of the compound smooth. Next, be sure to sand the edge transition until it is feathered. There should be no definitive transition line, but rather, like a cloud, the compound tapers off into the drywall paper.
Using a ⅜” nap roller and your choice of primer, roll a solid coat over the compound and surrounding area. Make sure to spread the primer beyond the compound far enough not to leave a paint edge. After filling the roller with primer, start over the compound and roll outwards into the surrounding area.
This will ensure you don’t leave a heavy line of primer. Like the compound, feathering out the primer into the surface. Once the primer is dry, you want to inspect for any imperfections that you can see. Now is the time to fix those blemishes and avoid having to do compound touch-ups over your fresh paint job.
Final Painting And Color Matching
If you had leftover paint from the original paint job. You can probably get away with only painting the repaired area. Otherwise, you may have to paint the whole wall until you come to an inside or outside corner.
Get the piece of the original drywall that is painted. You can bring it to Sherwin-Williams. They do a great job matching the color with their computer scanner. It automates the paint tint process for them.
I wish you the best in your drywall endeavors. If you have any questions, you can drop me an email or a comment. In the comment section, you can share ideas. I service Massachusetts and Connecticut. If you find yourself with a drywall project that is more than you are comfortable doing. Sincerely MrWalls Jason Lebeau
When is it better to replace the whole sheet?
If the hole is big, it is sometimes easier to replace the 4x8ft sheet than to try to patch the hole.
What’s the most important thing to get a good-looking repair?
Make sure you fill in the low side and feather it out wide enough. No ramps.
How much does a pro charge for a 1ft x 1ft repair?
If there is no texturing needed around $400. This price doesn’t include repainting.
Check Out More Articles
Knockdown Texture Application Step By Step
Outside Corner Finishing Corner Bead